CREATING A SHOP
The Shops you list on your Website should be kept up to date regularly.
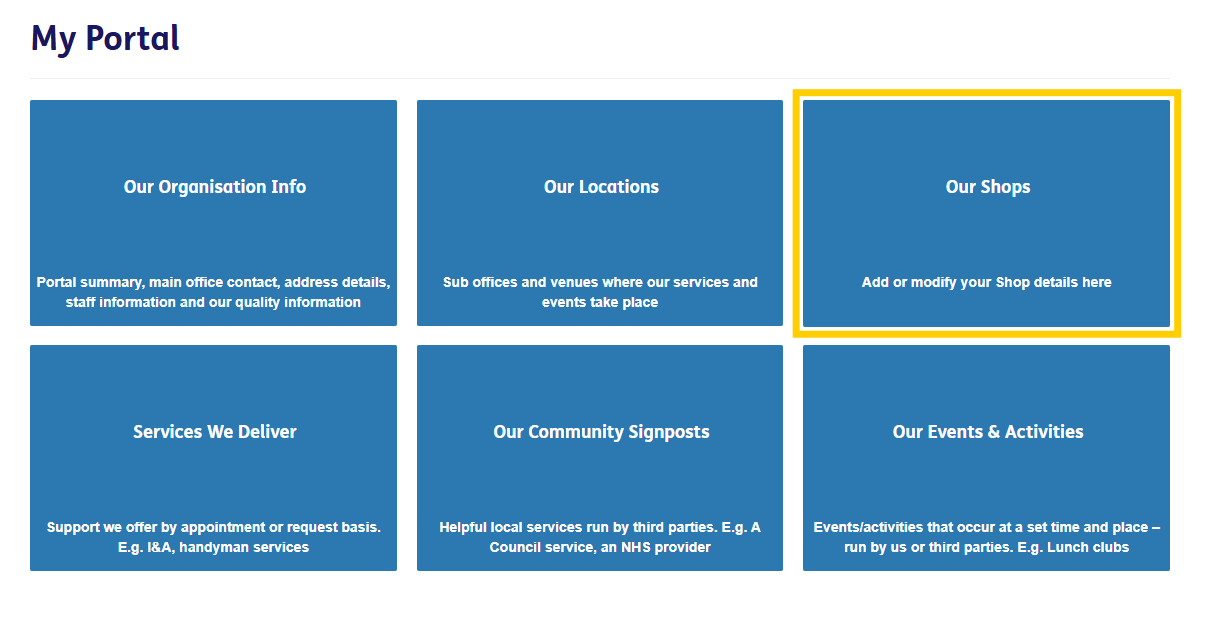
1. After signing in to the Portal, click on "My Portal"

2. After this you will be presented with 6 tiles. Click on "Our Shops"
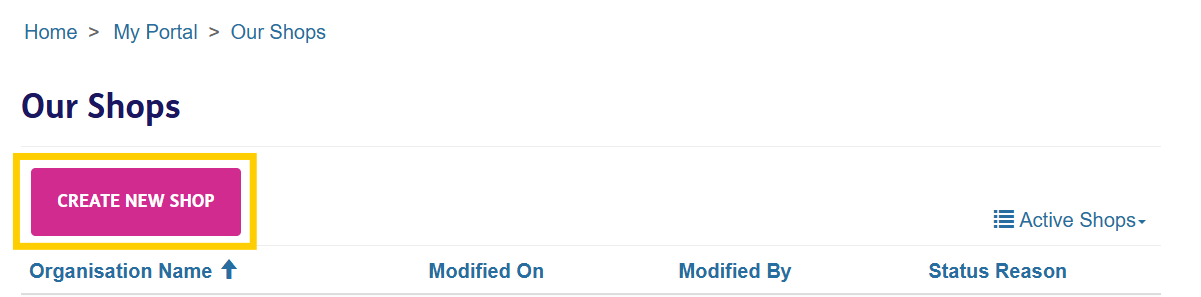
3. Select "Create New Shop"
4. Give your new Shop a name

5. Type in the Postcode of your Shop and select the desired location from the dropdown menu
You can also amend this address by clicking in the grey area of "Address"
Note: Whatever is written in Address Line 1 is what appears as the pinned location
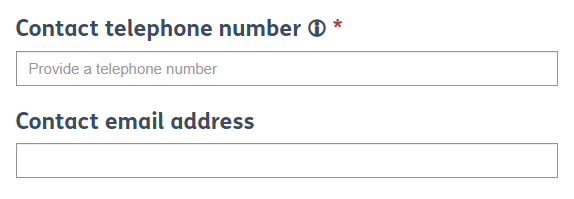
6. Type in the most relevant Telephone Number and Email Address associated with this new Shop
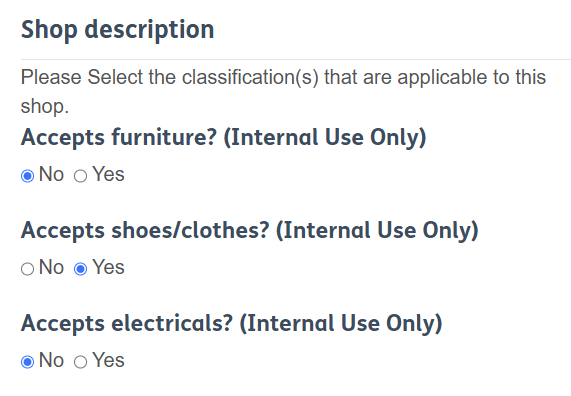
7. Indicate what items you accept
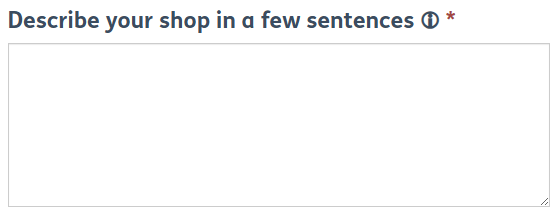
8. Describe your Shop in a few sentences
Provide a brief summary of your Shop (2 sentences max).
You can provide more details in the Additional Notes section.
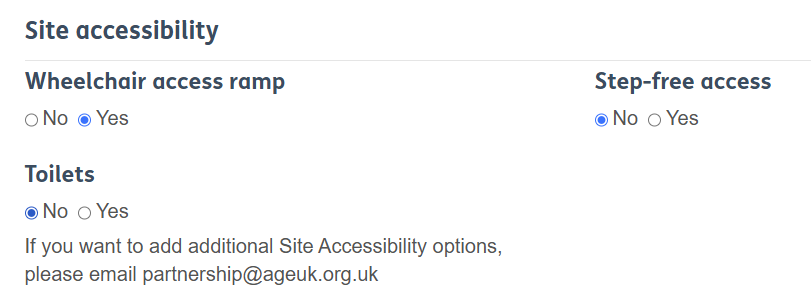
9. Fill out the Site Accessibility Information
10. Fill in the Shop's Opening Times (preferably in the format: Day - Day, XXam - XXpm)
Example: Monday - Thursday, 10am - 4pm

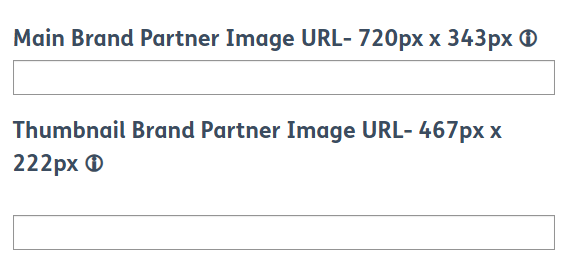
11. Add a Thumbnail and Main Image for your Shop
If you do not know how to add a Thumbnail and Main Image, follow our guidance here.
12. Similarly to your Service pages, fill out this section with detailed information about your Shop
You can add up to 10 Subheadings, Body Texts and URLs - just click "Add More" and more sections will appear.
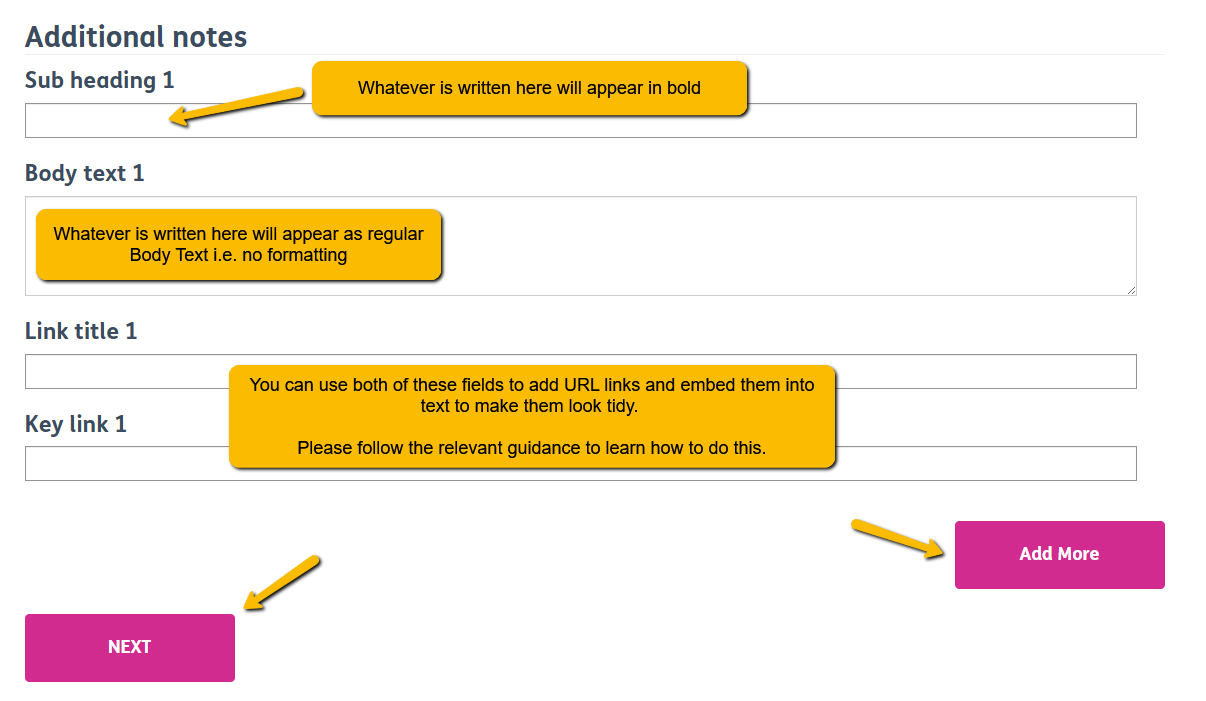
Sub Heading
Whatever you write in the Sub Heading field will appear in bold. We suggest using subheadings to help split up your text e.g. "Who is this Service for?" , "What is [service name]?" etc.
Body Text
Use this box to give key details about your Service (usually in-line with what your Sub Heading is i.e. "Who is this Service for?" - you'd give information on who the target audience is for this Service.
Link Title and Key Link
You can link off to a URL if needed - this can be an external form (e.g. Microsoft Form), an Application Form (e.g. a Word Document) or an external Website (e.g. Local Council).
Guidance on:
Embedding a URL into text can be found here.
Uploading a Downloadable Word Document (e.g. an Application Form) can be found here.
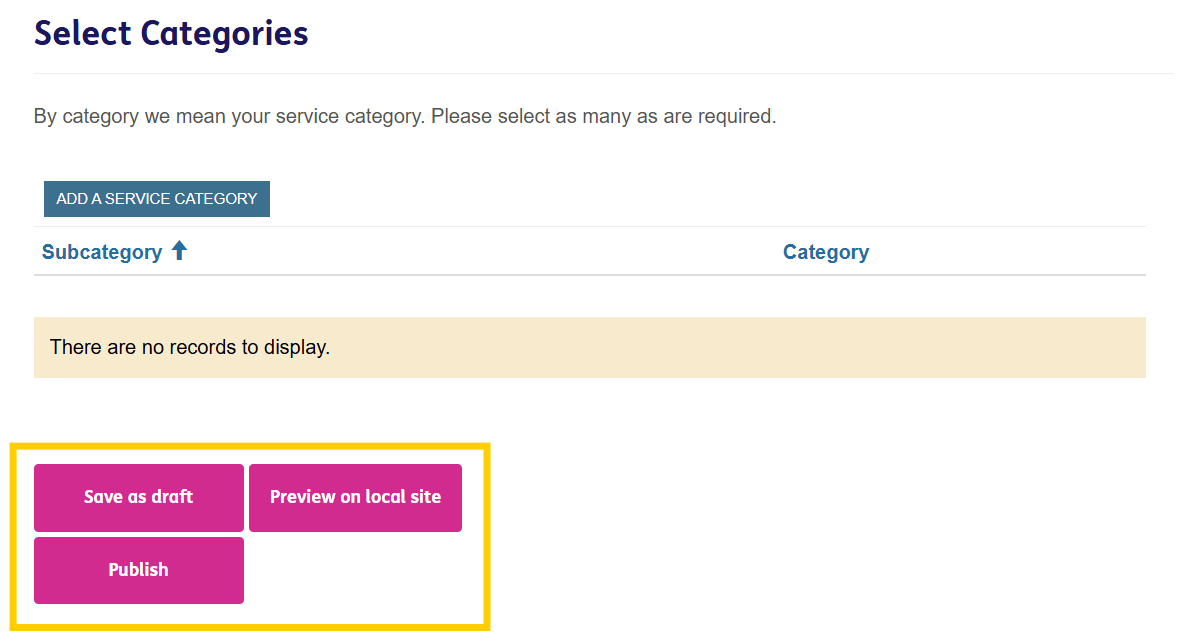
13. Once you're happy with the Content you've added, select one of the following:
Save as Draft
Saves your Service but doesn't publish it anywhere i.e. it will not show up on either the Local Directory or your Local Age UK Website for the public to see.
Preview on Local Site
Saves your Service but only publishes it on your Local Age UK Website.
Publish
Saves your Service and publishes it on both the Local Directory and your Local Age UK Website
Please note: You may have to wait 15 - 30 minutes for your changes to display. If after this time they have not, please let us know.